Silk-screen Infographics
MDI- UPV 2017
01. Overview
This is the graphic summary of the screen printing workshop during the Master in Design and Illustration. The goal was to document and present the full process and the final results using infographics and visual information.
02. Key Insights
Where:
Valencia, Spain
What:
Infographics-Photo edition
Category:
Silk screen printing
Role:
Designer – student
Team:
Individual project
Duration:
3 days
03. Objectives
1. Document the silk-screen process step by step.
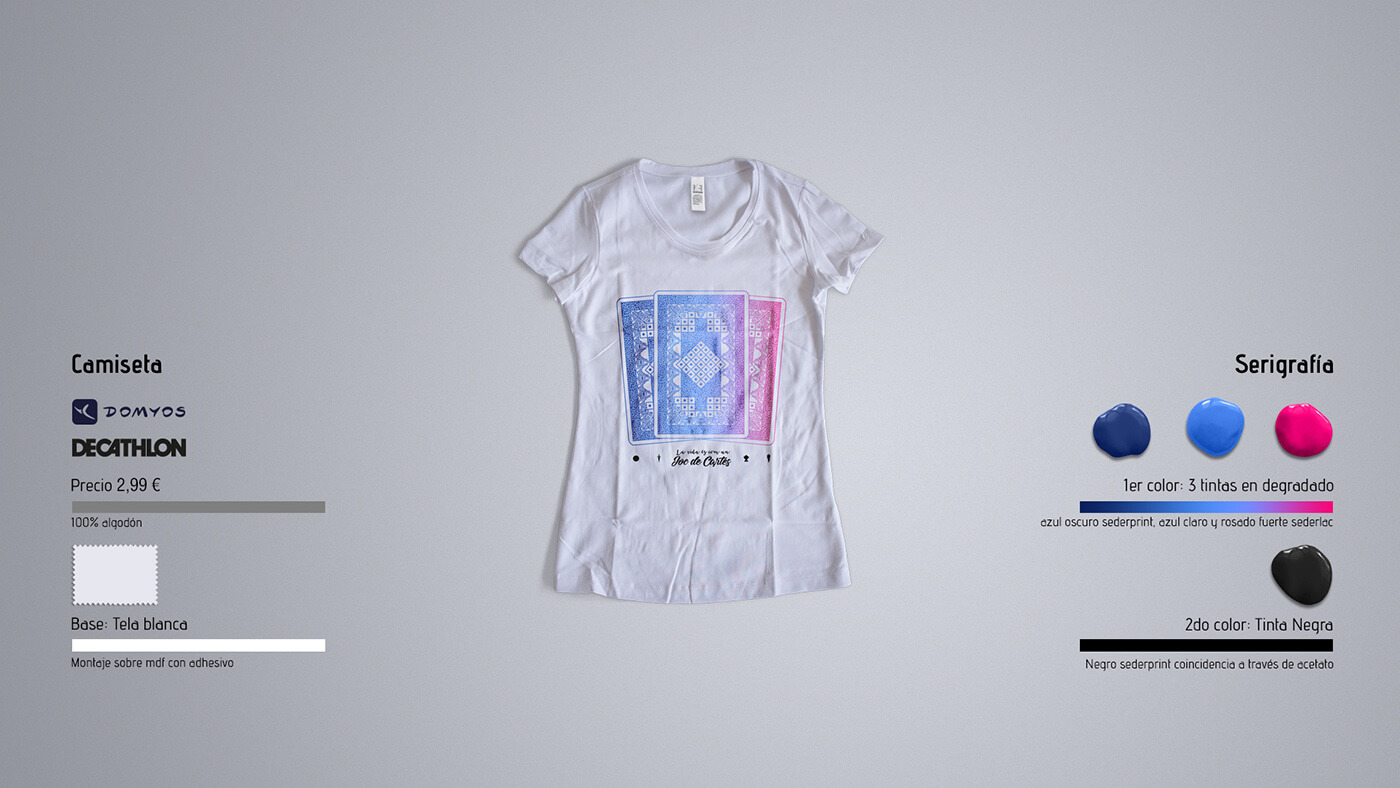
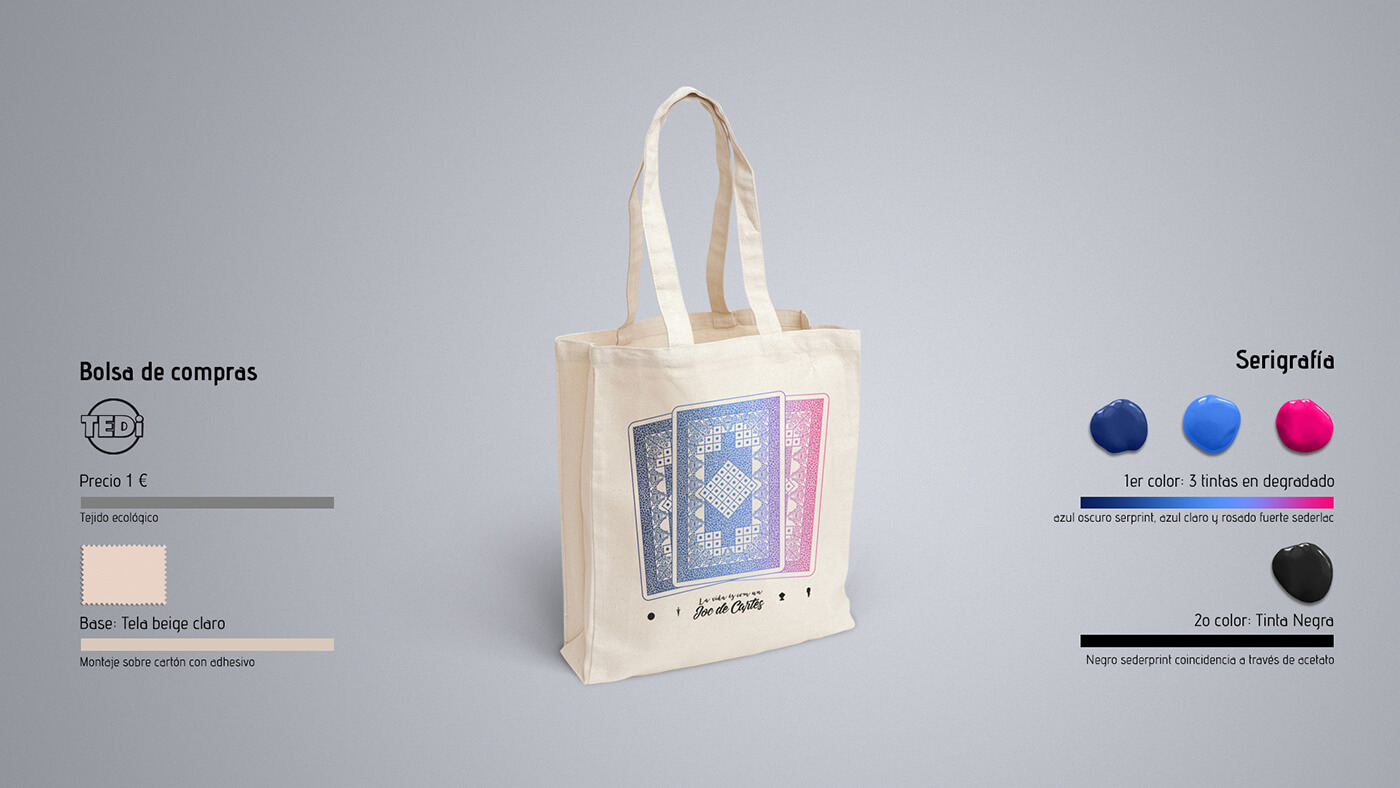
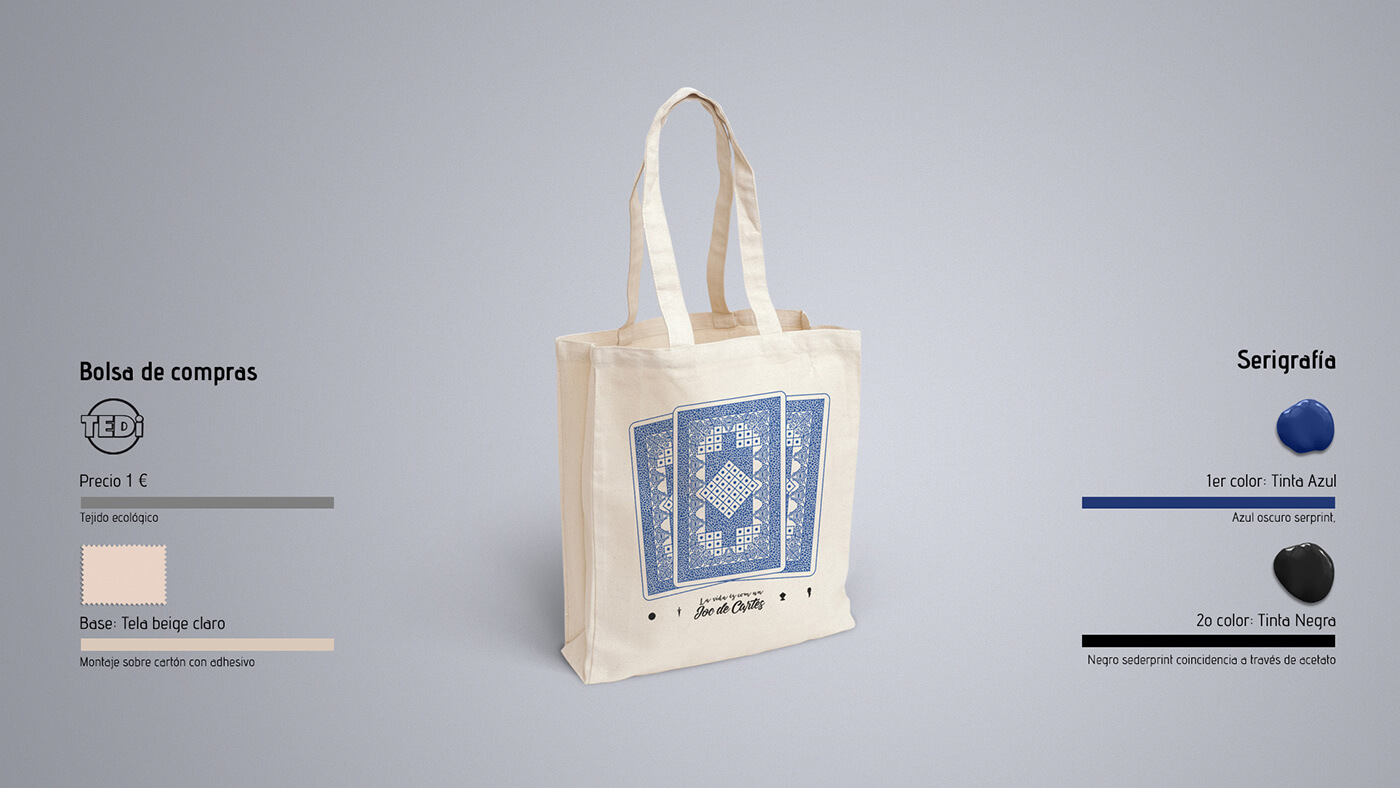
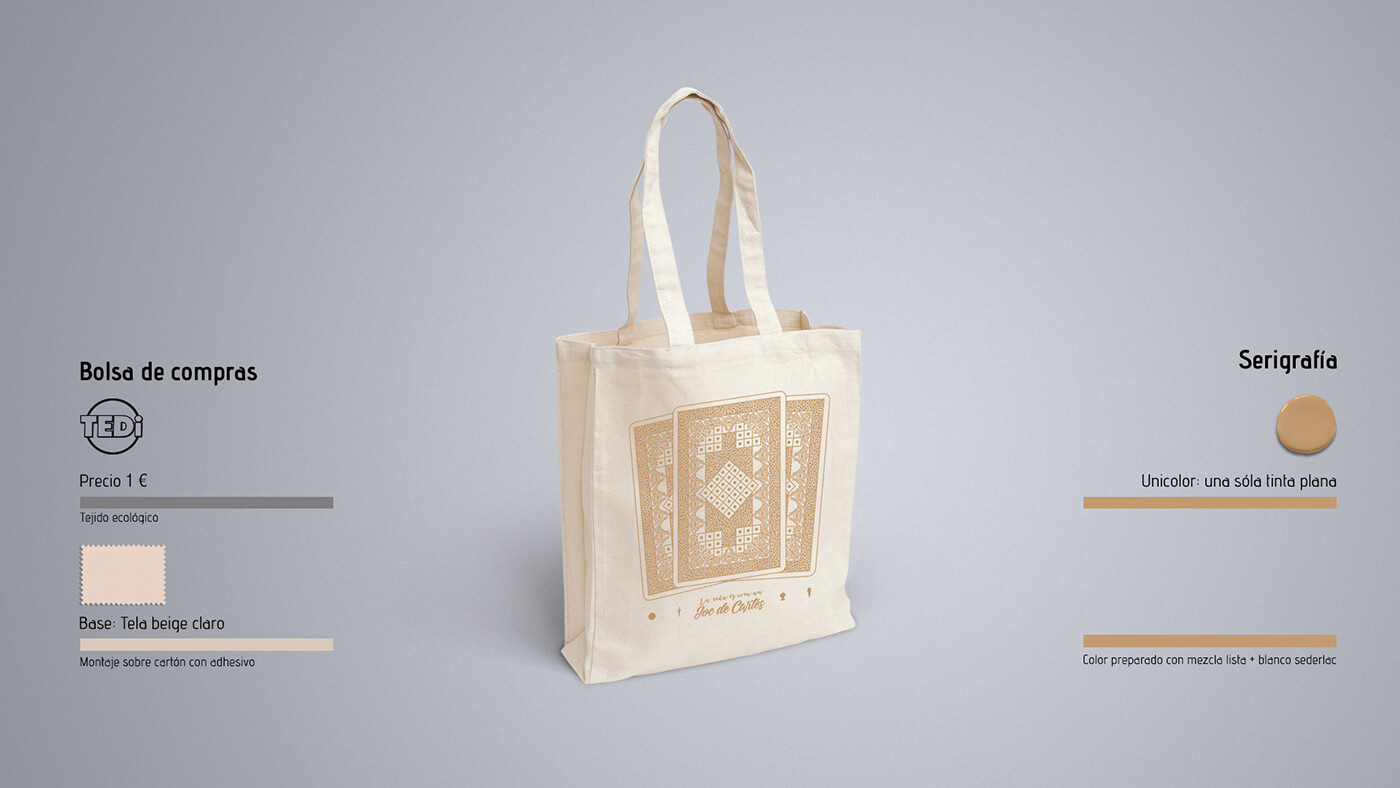
2. Show the final results.
3. Use infographics to show the process.
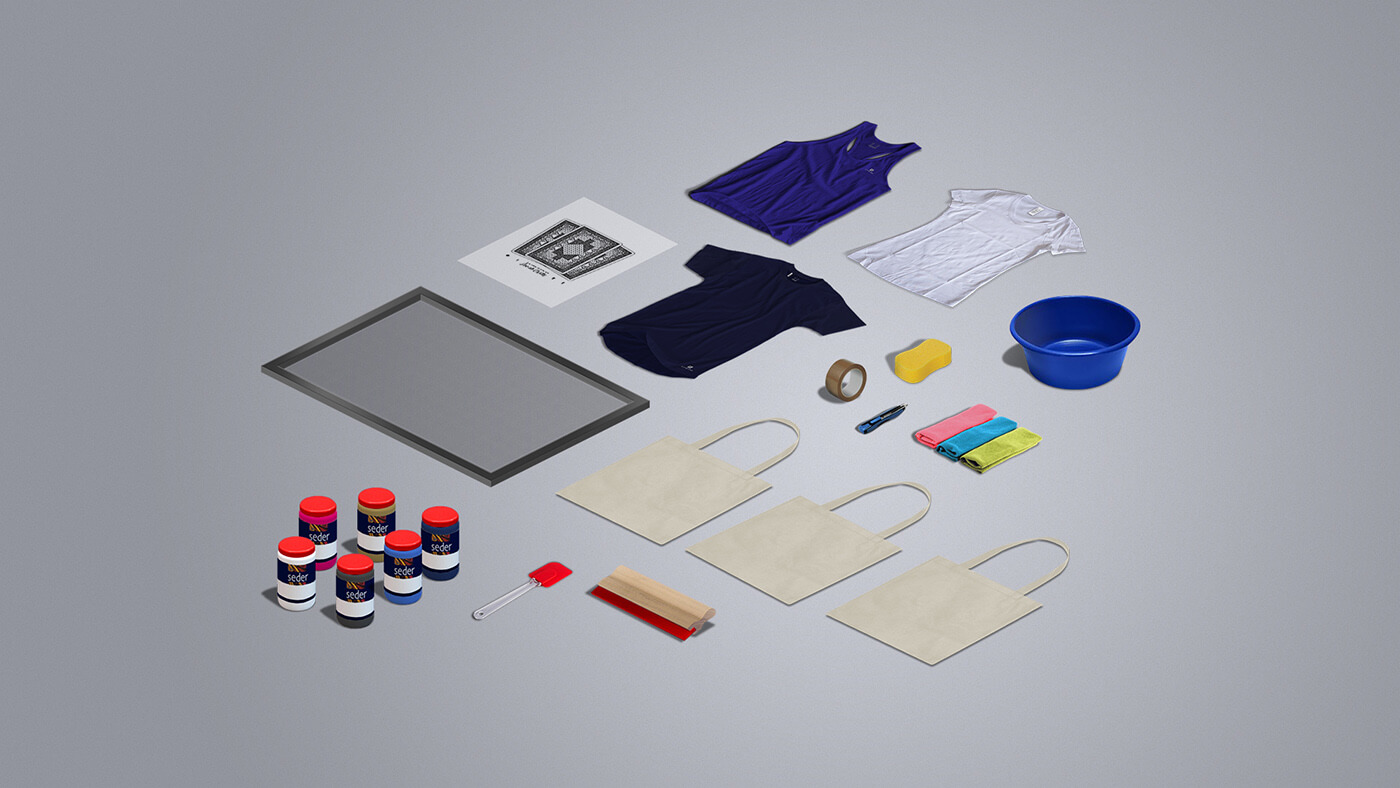
04. Silk-Screen Materials
- Shirts and fabric bags ready to be printed on.
- Screen frame: A rectangular silk-screen mesh, tightly stretched over a frame, used to transfer the design.
- Six containers of ink.
- Squeegee or spatula, to spread the ink across the mesh.
- Tape and sponge, used for prepping the screen.
- Bucket and cleaning cloths for washing the screen.
- Printed design on paper, which will be transferred to the screen.
05. Preparation and Masking
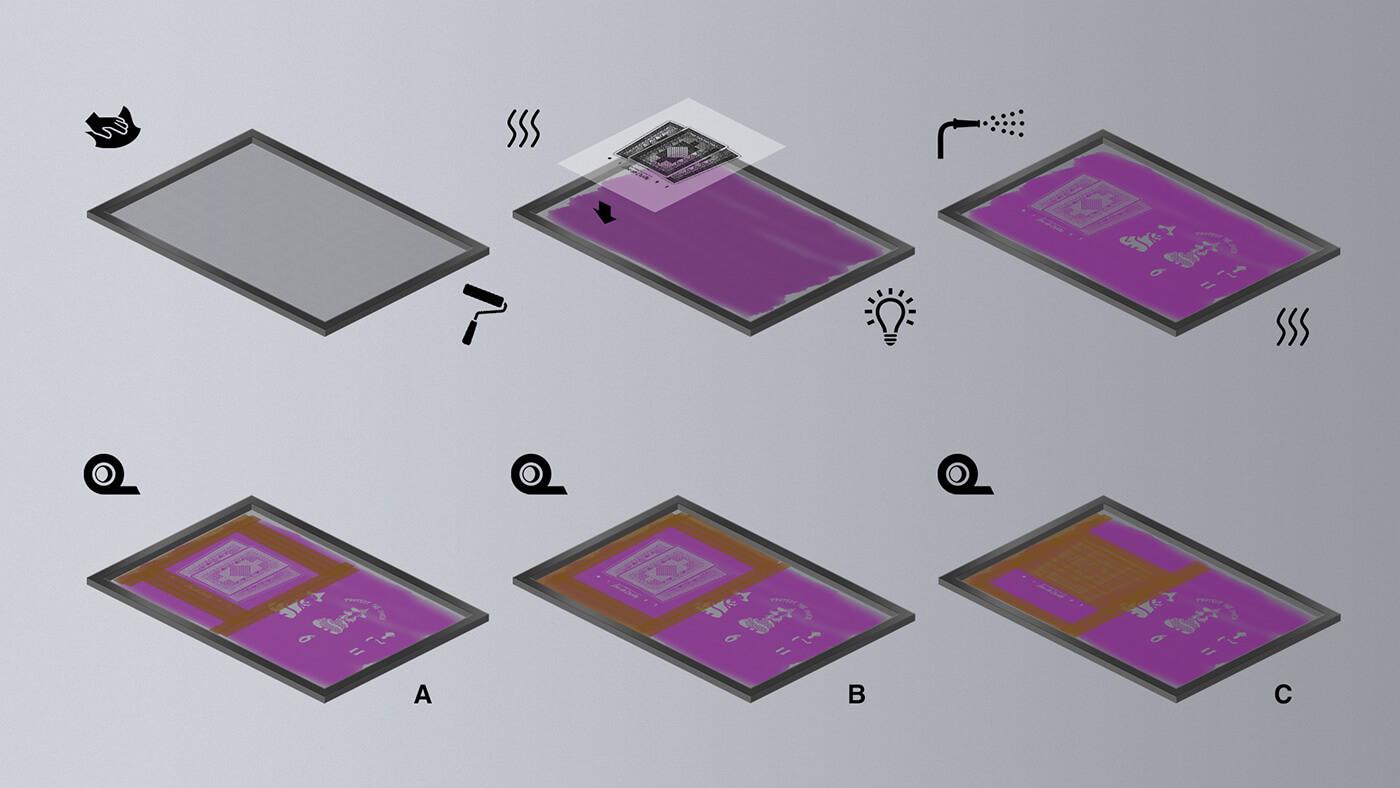
- Cleaning: The screen is cleaned before applying any emulsion.
- Applying emulsion: A light-sensitive emulsion is spread evenly across the screen.
- Exposing the design: The printed design is placed on the screen, and the screen is exposed to light, hardening the emulsion where the design is not covered.
- Washing: After exposure, the screen is rinsed to remove the unexposed emulsion, revealing the design.
- Drying: The screen is dried, making it ready for printing.
- Masking: Tape is applied (steps A, B, C) to block areas of the screen where ink should not pass through.
06. Printing Process
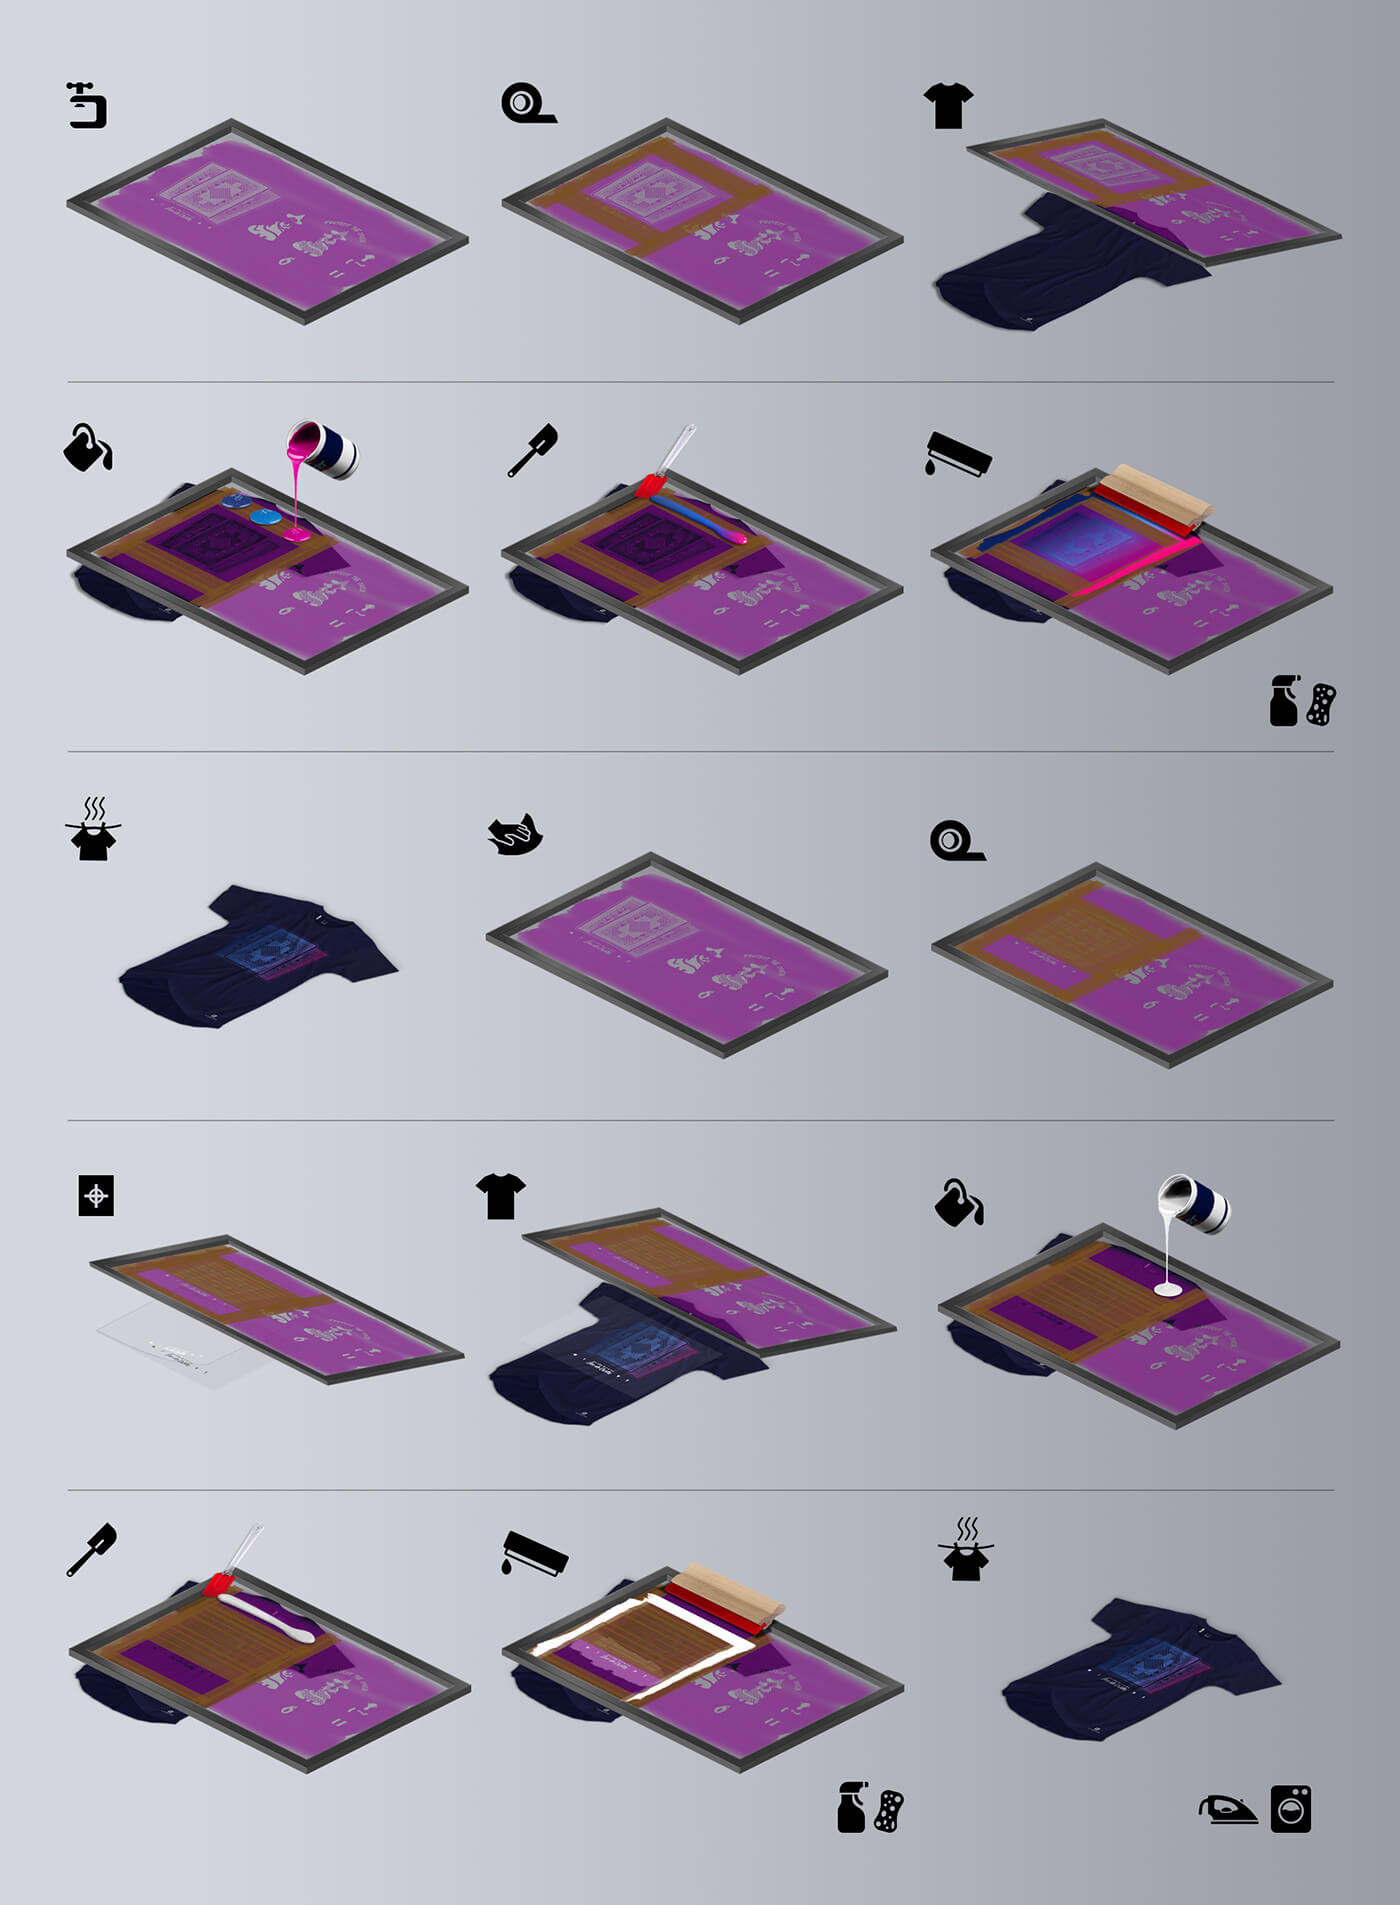
- Setting up the screen: The shirt is placed under the prepared screen, which is masked off to focus the design area.
- Applying ink: Ink is poured onto the screen and spread using a squeegee, pushing the ink through the open parts with a fast move from top to bottom of the mesh where the design is.
- Printing: The ink passes through the screen onto the fabric in the shape of the design.
- Drying and cleaning: The printed shirt is left to dry, and the screen is cleaned, ready for reuse.
08. Results
- The project provided a clear and detailed visual breakdown of the silk-screen printing process, effectively covering all essential steps, from material preparation to final printing.
- The infographics used in the project were well-designed and functional, making the silk-screen process easy to follow and understand for viewers.
- The final prints on fabric bags and shirts demonstrated vibrant, precise results, showing a strong command of the technique.
- It’s clear that the silk-screen process was fully understood, assimilated, and executed accurately, resulting in successful practical outcomes.


